
Invisalign uses a series of clear trays to gradually straighten crooked teeth over time. Because teeth are being moved, there may be some mild pain involved with the treatment, especially when patients switch to a new set of trays. Many patients report that discomfort is most noticeable when removing the trays. Luckily, there are a few tips and tricks that will help make the process as easy and pain-free as possible.
Does Invisalign Hurt?
Many patients choose Invisalign to straighten their teeth because the clear, plastic trays are much less noticeable than metal or ceramic braces. And, because Invisalign trays are removable, patients can take them out for eating and special occasions—something that is not possible with braces. Without the sharp metal wires, Invisalign is also typically less painful than braces. That said, some patients experience mild discomfort with Invisalign. This is usually caused by pressure placed on the teeth.
Soreness most often occurs when the patient is first fitted with Invisalign or when switching to a new set of trays, something that happens every few weeks. As the teeth adjust to the device, the pain should subside. The pain that comes with a new tray is completely normal — and it most likely means that the treatment is working!
Some patients experience irritation due to aligner trays with rough edges, though this issue is rare with the newer aligner designs on the market today.
Deformed trays can also cause Invisalign pain. Causes of deformation can include warping from hot water or being left in a hot car, incorrect removal of the trays, or teeth grinding while asleep.
Remove Invisalign Painlessly
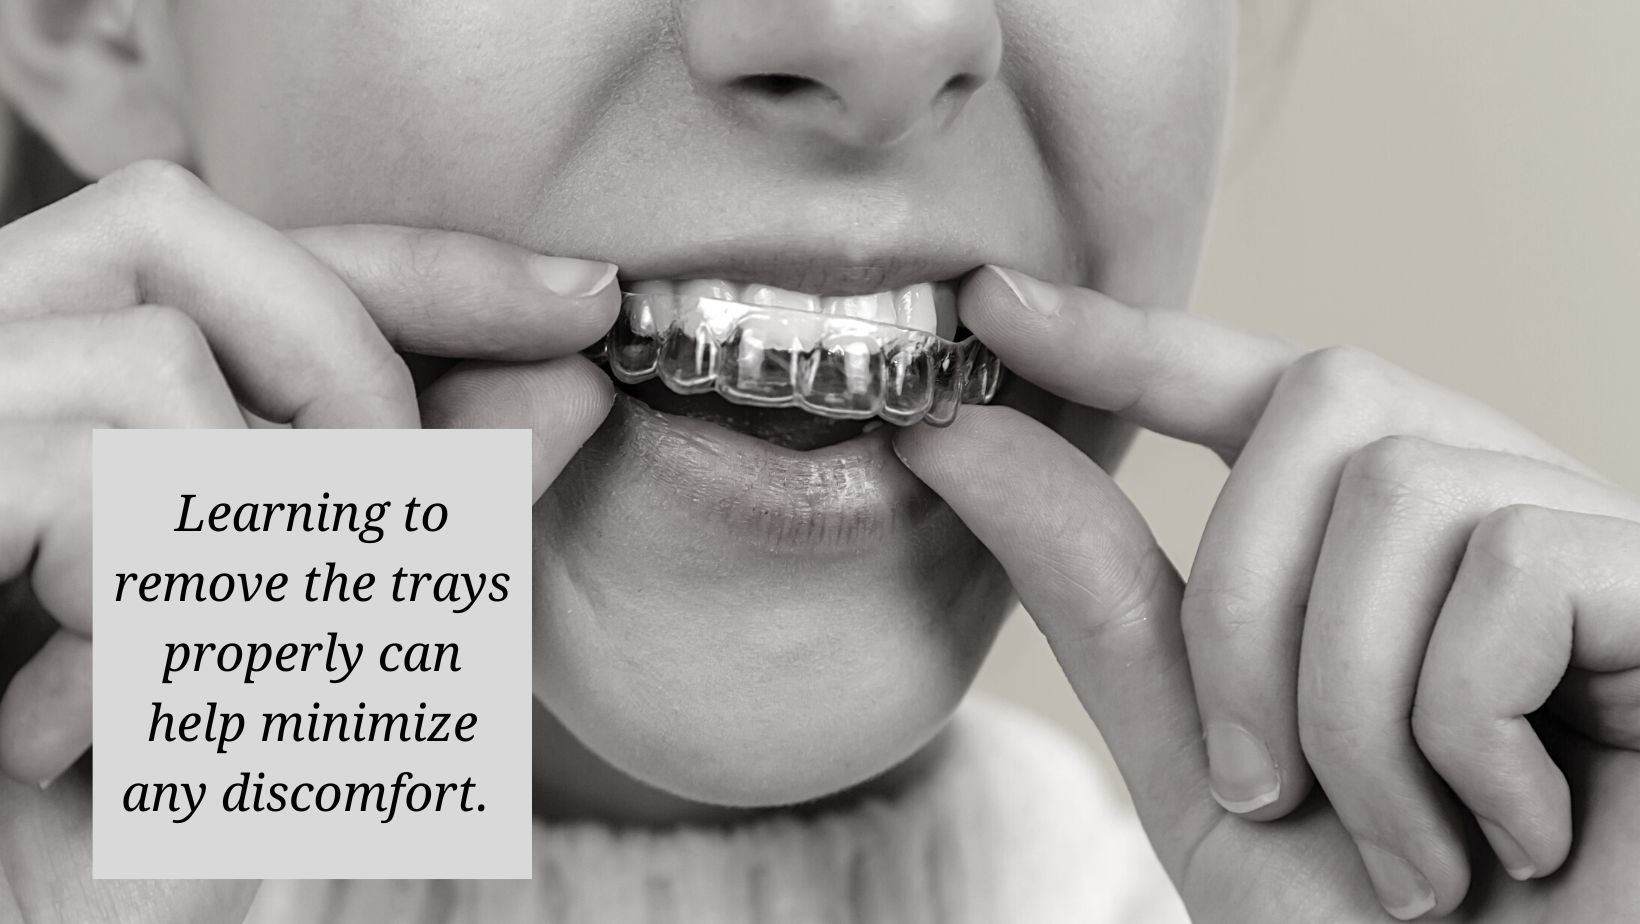
Patients often describe pain related to Invisalign as pressure or tenderness—especially when removing the aligners from the mouth. Since Invisalign trays need to be removed before eating and drinking, as well as for brushing and flossing, taking them out can’t be avoided.
Learning to remove the trays properly can help minimize any discomfort. Proper removal also reduces the risk of damaging the Invisalign trays.
To remove Invisalign from the top arch:
- Start with the last left or right molar (the tooth all the way in the back of the mouth)
- On the inside of the molar, next to the tongue, use your index finger or thumb to gently push the edge of the aligner down and away from the tooth
- Repeat with the molar on the other side
- If the tray is still in place, use a fingernail to gently push the rest of the tray down away from the teeth, working around the arch gradually
To remove Invisalign from the bottom arch:
- Start again with the left or right back molar, but this time work on the outside of the tooth next to the cheek
- Use your index finger or thumb to push the edge of the aligner up and away from the tooth
- Repeat with the molar on the other side
- If the tray is still in place, use a fingernail to gently push the rest of the tray up away from the teeth, working around the arch gradually
Avoid removing the Invisalign tray by peeling it away from one side. Take your time and remove the tray gradually with gentle pressure. Be patient: Invisalign removal gets easier with practice.
Here are some additional tips for removing Invisalign without pain.
Start with Dry Hands
The aligner trays in the mouth will be wet with saliva, making them slippery. Dry hands will improve your grip on the smooth plastic during removal.
Try an Invisalign Removal Tool
For patients with fingernails that are very long or very short, it may help to use an aligner removal tool. There are different types of removal tools available, but most feature a small plastic hook that can be used to gently pry the tray away from the patient’s teeth. When using an aligner removal tool, patients can follow the same process, starting by dislodging the tray from the molars on each side.
Using a removal tool is also recommended when the patient has Invisalign attachments.
Try Using a Paper Towel
Because the smooth plastic of Invisalign trays can be slippery, some patients find that placing a paper towel between their fingers during removal helps them get a better grip on the plastic.
Leave New Trays In
This tip is important when a patient switches to a new set of trays. This is the time that the trays will be the tightest and most difficult to remove. As the teeth move to fit the tray, removal will become easier. Sometimes even waiting an additional hour or two before removing the trays makes a big difference.
Switch to New Trays at Bedtime
One way to keep a new set of trays in longer is by switching to them at bedtime. The patient will sleep through the hours when the trays feel the tightest, and by morning they should be easier to remove.
Don’t Leave Trays Out Too Long
Invisalign trays should be worn 22 hours or more per day to be effective. When a patient leaves the trays out for a long period of time, teeth can start to shift back. This will make the trays more difficult to insert and remove—and can cause pain.
Easing Invisalign Pain
Even with proper tray removal, patients may experience some discomfort as Invisalign shifts their teeth. Tips and tricks for relieving Invisalign pain include using a cold compress on the sore area and taking an over-the-counter pain reliever.
Dentists may also recommend doing some chewing exercises. As Invisalign trays shift teeth, patients may experience temporary gum or jaw pain. Chewing exercises can increase blood flow to the area and help properly seat the trays.
Although Invisalign pain should be mild and subside in a few days, keep an eye out for these indicators that it’s time to make an appointment with the dentist or orthodontist:
- If a tray has rough edges or has become deformed, the dentist or orthodontist will need to smooth out the edges or remake the tray altogether.
- If the pain is due to pressure on the teeth, it should go away in 2-3 days. Book an appointment with your dentist if the pain worsens or persists for more than a week.
Learn More About Invisalign
If you are considering Invisalign for straighter teeth, use our online tool to find a provider near you. They will help you evaluate your options and provide additional tips for minimizing discomfort for a successful Invisalign experience.